proform exercise bike manual
ProForm Exercise Bike Manual: A Comprehensive Guide
Welcome! This manual guides you through setup, operation, and maintenance of your ProForm exercise bike, ensuring effective and enjoyable home workouts.
ProForm delivers innovative fitness equipment designed for effective home workouts. Their exercise bikes, like the 310 CSX, 8.0 EX, 500 SPX, 440 ES, PRO C22, and LE TOUR DE FRANCE models, prioritize cardiovascular health, endurance building, and full-body toning.
Each bike boasts features crafted to enhance your exercise experience, making fitness accessible and enjoyable within the comfort of your home. Carefully reading this manual is crucial for maximizing your bike’s potential.
Benefits of Using a ProForm Exercise Bike
ProForm exercise bikes offer a convenient and effective way to improve your overall health. Cycling is renowned for boosting cardiovascular fitness, enhancing stamina, and sculpting your physique. These bikes provide a low-impact workout, suitable for various fitness levels.
Enjoy effective home workouts with features designed for enjoyment and results. Regular use contributes to increased endurance, toned muscles, and a healthier lifestyle, all within the convenience of your home.
Unboxing and Initial Setup

Carefully unpack your ProForm exercise bike, verifying all components are present. Retain the packaging until assembly is complete. Begin by laying out all parts and referencing the parts list. Ensure you have adequate space for assembly and operation.
Before starting, read the entire manual to familiarize yourself with the process. Initial setup involves attaching the base and console, which will be detailed in the following sections.
Parts Identification
Familiarize yourself with all components before assembly. Key parts include the main frame, base stabilizers, console, display unit, pedals, crank system, seat, and various hardware like bolts and washers. Refer to the detailed parts diagram included separately.
Proper identification ensures correct assembly. Note the differences between similar-looking parts. Keep the parts list handy throughout the setup process for easy reference and verification.
Frame and Base Components
The frame provides the structural integrity of the bike, supporting all other components. Base stabilizers are crucial for leveling and preventing wobbling during exercise. Inspect these parts for any damage before assembly. Ensure the frame is free of cracks or bends.
Properly attaching the base stabilizers is vital for a safe and stable workout experience. Verify all bolts are tightened securely, but avoid over-tightening to prevent damage.
Console and Display Unit
The console is the central hub for controlling and monitoring your workout. It features a display unit showing essential metrics like speed, time, distance, and calories burned. Familiarize yourself with the button layout for easy program selection and adjustment.
Ensure the console is securely attached and all wiring is properly connected. A functioning console is key to tracking progress and maximizing your exercise routine.
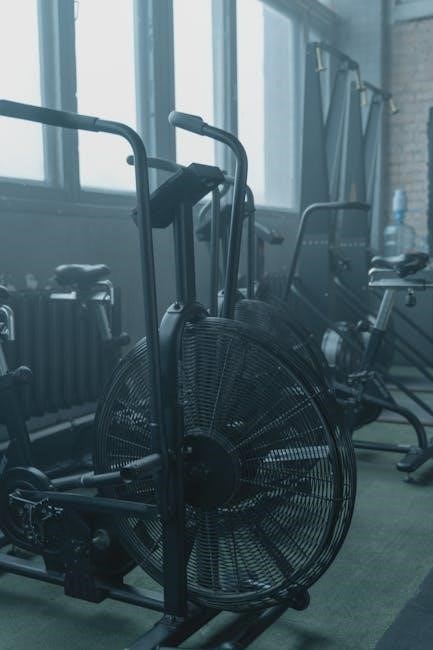
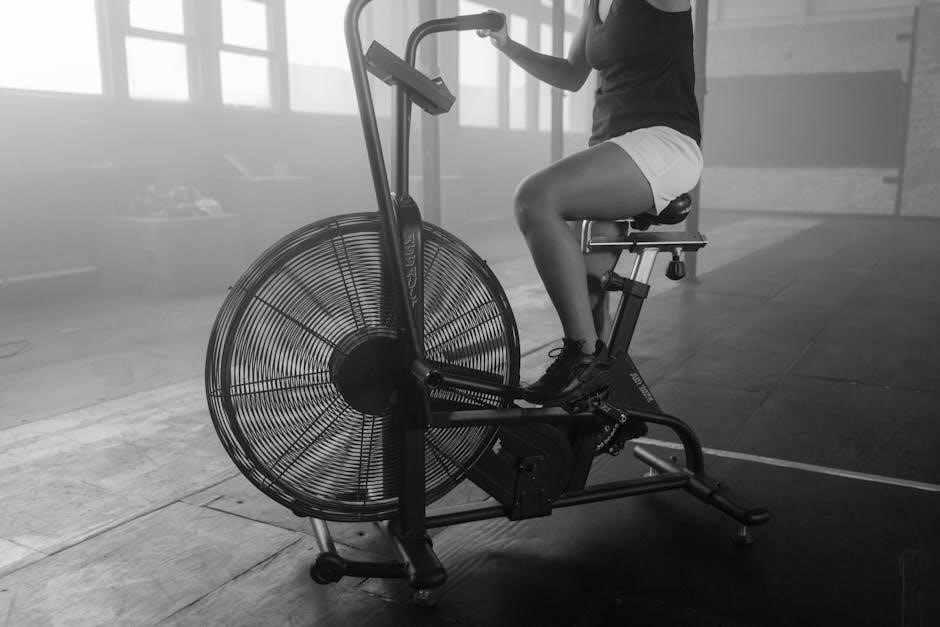
Pedals and Crank System
The pedals and crank system translate your leg power into rotational motion, driving the exercise bike’s resistance. Ensure pedals are securely fastened to the cranks before each use to prevent slippage during workouts. Regularly inspect the cranks for any signs of wear or damage.
Properly installed pedals are crucial for a safe and efficient cycling experience.
Assembly Instructions
Carefully unpack all components and verify against the parts list. Assembly requires basic tools – typically included – and a clear workspace. Follow these instructions sequentially for optimal results. Prioritize secure connections; double-check all bolts and fasteners.
Incorrect assembly can compromise safety and performance, so take your time and ensure each step is completed correctly.
Attaching the Base Stabilizers
Begin by identifying the base stabilizers and corresponding mounting points on the bike’s frame. Align the stabilizers, ensuring proper orientation as depicted in the diagrams. Securely fasten them using the provided bolts and washers, tightening with the appropriate tool.
Confirm stabilizers are firmly attached to prevent wobbling during exercise. Leveling feet may be adjustable for uneven floors.
Connecting the Console and Wiring
Carefully locate the console mounting posts on the bike frame. Gently position the console, aligning the connector cables with their corresponding ports. Ensure a secure connection, avoiding forced insertion.
Tuck excess wiring neatly within the designated channels to prevent interference. Verify all connections before proceeding, and secure the console to the mounting posts with provided hardware.
Installing the Pedals and Seat

Identify the left and right pedals, usually marked ‘L’ and ‘R’. Thread them into the crank arms, ensuring correct orientation – tighten firmly. Next, insert the seat post into the seat tower, adjusting to your desired height.
Secure the seat post clamp, verifying stability. Confirm pedals rotate freely and the seat is locked in place before use, prioritizing safety and comfort.
Console Operation and Features
The console is your workout hub! Power on using the power button, and follow the on-screen prompts for initial calibration. Explore the display metrics – time, distance, speed, calories burned, and heart rate are typically shown.
Navigate through pre-programmed workouts or customize your own, adjusting intensity and duration to match your fitness goals. Familiarize yourself with all features for optimal use.
Powering On and Initial Calibration
To begin, locate the power button on the console and press it firmly. The console will initiate a self-test and display the ProForm logo. Follow the on-screen instructions for initial calibration; this may involve entering your weight and age for accurate data tracking.
Ensure all connections are secure before starting. Calibration optimizes performance and provides personalized workout metrics.
Understanding the Display Metrics

The console displays crucial workout data including speed, distance, time, calories burned, and resistance level. Heart rate, when using sensors or a chest strap, is also prominently shown. Familiarize yourself with each metric to monitor progress and adjust intensity.
Some models feature program-specific data; refer to the program descriptions for details.
Program Selection and Customization
Your ProForm bike offers pre-set workout programs targeting various fitness goals – weight loss, hill climbs, or interval training. Navigate the console to browse available programs and select one that suits your needs. Many models allow customization of intensity levels within each program.
Explore manual mode for personalized control over resistance and duration.
Heart Rate Monitoring
Accurate heart rate data is crucial for effective workouts. Your ProForm bike may feature hand grip pulse sensors; ensure a firm, consistent grip during use for reliable readings. For greater accuracy and convenience, consider a compatible chest strap monitor (sold separately).
The console displays your current heart rate and can calculate calorie burn based on this information.
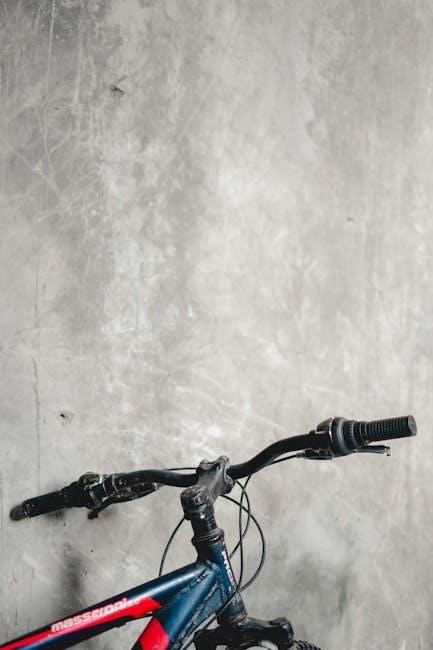
Using the Hand Grip Pulse Sensors
To utilize the hand grip pulse sensors, locate the metallic contacts on the handlebars. Ensure your hands are clean and dry, then firmly grasp the sensors. Maintain a consistent grip, avoiding excessive pressure or movement. The console will display your heart rate within a few seconds.
Readings may vary; use for general guidance.
Compatibility with Chest Strap Monitors
For enhanced heart rate accuracy, your ProForm bike is compatible with most standard Bluetooth or ANT+ chest strap monitors (sold separately). Consult your console’s settings to pair the monitor. A chest strap provides continuous, precise readings during intense workouts, offering a more reliable data stream than hand grip sensors.
Ensure proper skin contact for optimal performance.
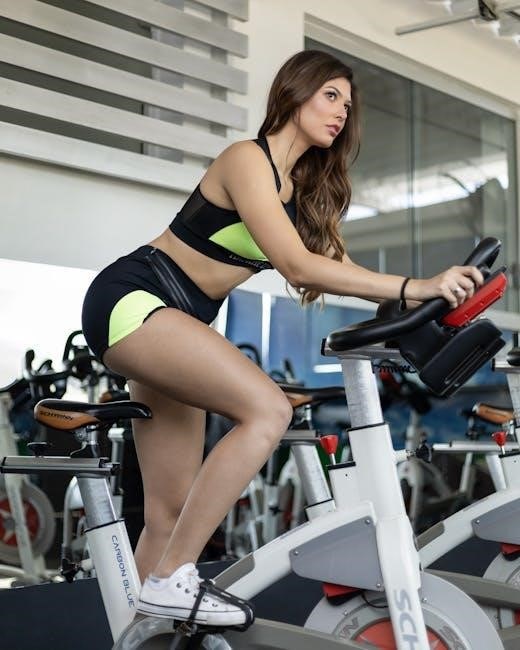
Resistance Adjustment
Your ProForm exercise bike offers versatile resistance options to tailor workouts to your fitness level. Many models feature both manual and electronic control. Manual levels are adjusted via a knob, providing immediate changes. Electronic resistance, controlled through the console, allows for programmed workouts and precise adjustments.
Experiment to find your ideal settings!
Manual Resistance Levels
Adjusting manual resistance is straightforward. Locate the resistance knob, typically near the console or frame. Turning it clockwise increases resistance, simulating uphill climbs or higher intensity. Counter-clockwise decreases it for easier pedaling. These levels offer immediate feedback, allowing you to quickly adapt during your workout.
Start low and gradually increase!
Electronic Resistance Control

Electronic resistance, controlled via the console, provides precise adjustments during programmed workouts. Use the ‘Increase’ and ‘Decrease’ buttons to modify resistance levels, often displayed numerically. This system allows for automatic adjustments based on selected programs, simulating varied terrain and challenges.
Explore preset workouts for optimal results!
Maintenance and Care
Regular maintenance extends your ProForm bike’s lifespan and ensures optimal performance. Wipe down the frame and console with a damp cloth after each use. Periodically inspect all bolts and screws, tightening as needed. Lubricate moving parts, like the crank arms, to maintain smooth operation and prevent wear. Consistent care guarantees a safe and effective workout experience.
Cleaning the Exercise Bike
Maintaining cleanliness is crucial for longevity. After each workout, wipe down the frame, handlebars, and console with a soft, damp cloth. Avoid abrasive cleaners, which can damage surfaces. For stubborn grime, use a mild soap solution. Ensure the bike is dry before use. Regular cleaning prevents dust buildup and keeps your equipment hygienic.
Lubrication of Moving Parts
Proper lubrication ensures smooth operation and extends the life of your ProForm bike. Periodically apply silicone-based lubricant to the pedal crank arms and any visible pivot points. Avoid oil-based lubricants, as they attract dust. Check the drive system regularly; a dry chain can cause excessive wear. Lubricate sparingly, wiping away any excess to prevent slippage.
Regular Inspection of Components
Consistent inspection is vital for safety and performance. Routinely check all bolts and screws, tightening any that are loose. Examine the pedals, seat, and console for wear or damage. Inspect the power cord for fraying or cuts. Verify the stability of the frame and base. Address any issues promptly to prevent further damage or injury during use.
Troubleshooting Common Issues
Facing problems? If the console doesn’t power on, check the power cord and outlet. For pedal resistance issues, ensure proper tension adjustment. Unusual noises often indicate loose components – tighten all bolts. If problems persist, consult the full manual or contact ProForm support. Regular maintenance minimizes these occurrences, ensuring a smooth workout experience.
Console Not Powering On
No display? First, verify the power cord is securely connected to both the console and a working electrical outlet. Test the outlet with another device to confirm it’s functioning. Inspect the console cable for any damage or loose connections. If still unresponsive, check the fuse box for a tripped breaker.
Pedal Resistance Problems
Experiencing inconsistent resistance? Ensure the resistance knob or buttons are properly adjusted to your desired level. Check for any obstructions, like clothing or debris, near the flywheel or resistance mechanism. If electronic resistance isn’t working, verify the console is powered on and communicating with the bike. A loose cable could be the issue.
Noise During Operation
Hearing squeaks or grinding? First, tighten all bolts and screws on the frame, pedals, and console. Lubricate the flywheel and pedal crank with silicone-based lubricant. Inspect the flywheel for debris. If noise persists, check the resistance mechanism for proper alignment and lubrication. Ensure the bike is on a level surface to minimize vibrations.
Safety Precautions
Prioritize safety! Always inspect the bike before each use, ensuring all parts are secure. Keep children and pets away during operation. Use caution when mounting and dismounting. Never operate if damaged. Avoid excessive speed or resistance initially. Consult a physician before starting any new exercise program. Wear appropriate athletic shoes and clothing.
Warranty Information
Protect your investment! ProForm offers a warranty covering the frame, parts, and electronic components. The frame typically has the longest coverage period, often several years. Parts and electronics have shorter warranties, usually one to two years. Register your bike promptly to activate the warranty. Retain your purchase receipt as proof of date.
Exercise Programs and Workout Ideas
Maximize your fitness! Explore pre-programmed workouts targeting various goals – cardio, fat burn, hill climbs, and interval training. Create custom programs adjusting resistance and duration. For beginners, start with low-intensity rides, gradually increasing difficulty. Advanced users can incorporate interval sprints and challenging climbs. Remember to warm up and cool down properly!
Storing Your ProForm Exercise Bike
Space-saving solutions! If your model features a folding frame, carefully follow the instructions to collapse it for compact storage. Always ensure the bike is completely folded and secured before moving. Protect your investment by covering it with a dust sheet when not in use, preventing damage and extending its lifespan. Store in a cool, dry location.
Folding Mechanism (if applicable)
Convenient storage! Locate the frame’s folding hinge and release lever. Carefully lift the seat and frame upwards, allowing it to fold into a compact position. Ensure all cables have sufficient slack to prevent damage during folding. Secure the folded frame with the provided strap or locking pin.
Protecting from Dust and Damage
Long-lasting performance! When not in use, cover your ProForm bike with a dust cover to shield it from particles and potential scratches. Store in a climate-controlled environment, avoiding extreme temperatures and humidity. Regularly inspect for loose bolts or wear, addressing issues promptly. Keep the bike away from direct sunlight to prevent fading.